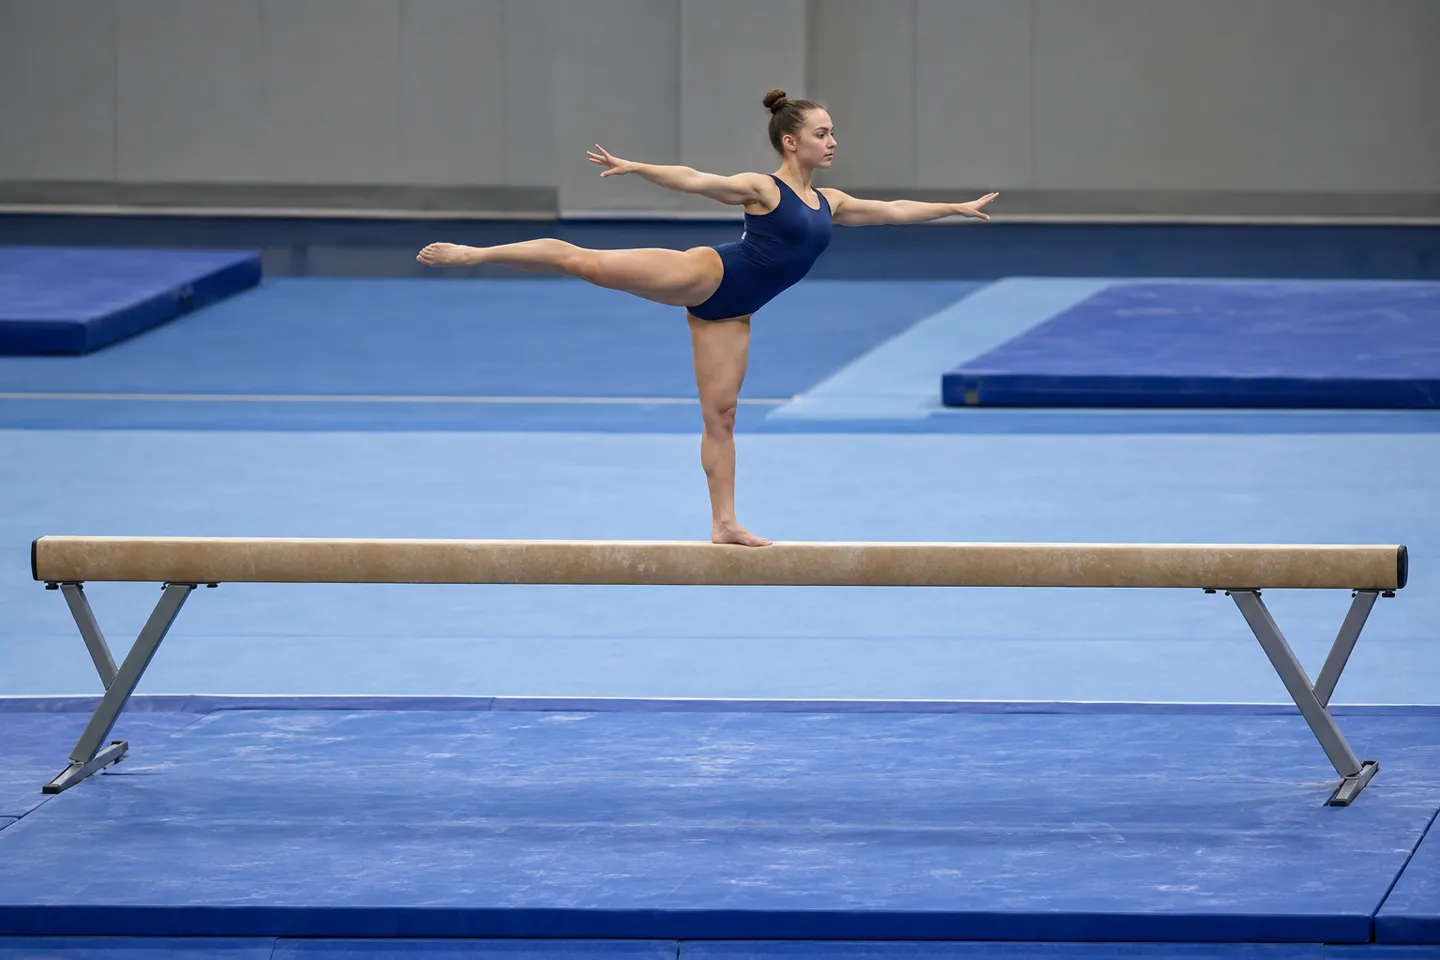
First, a quick redirect: this article is about the balance beam you walk on, the one gymnasts use and toddlers wobble across. If you landed here looking for a beam balance, the laboratory weighing scale, or a balance board for board sports, the plans below won’t help you.
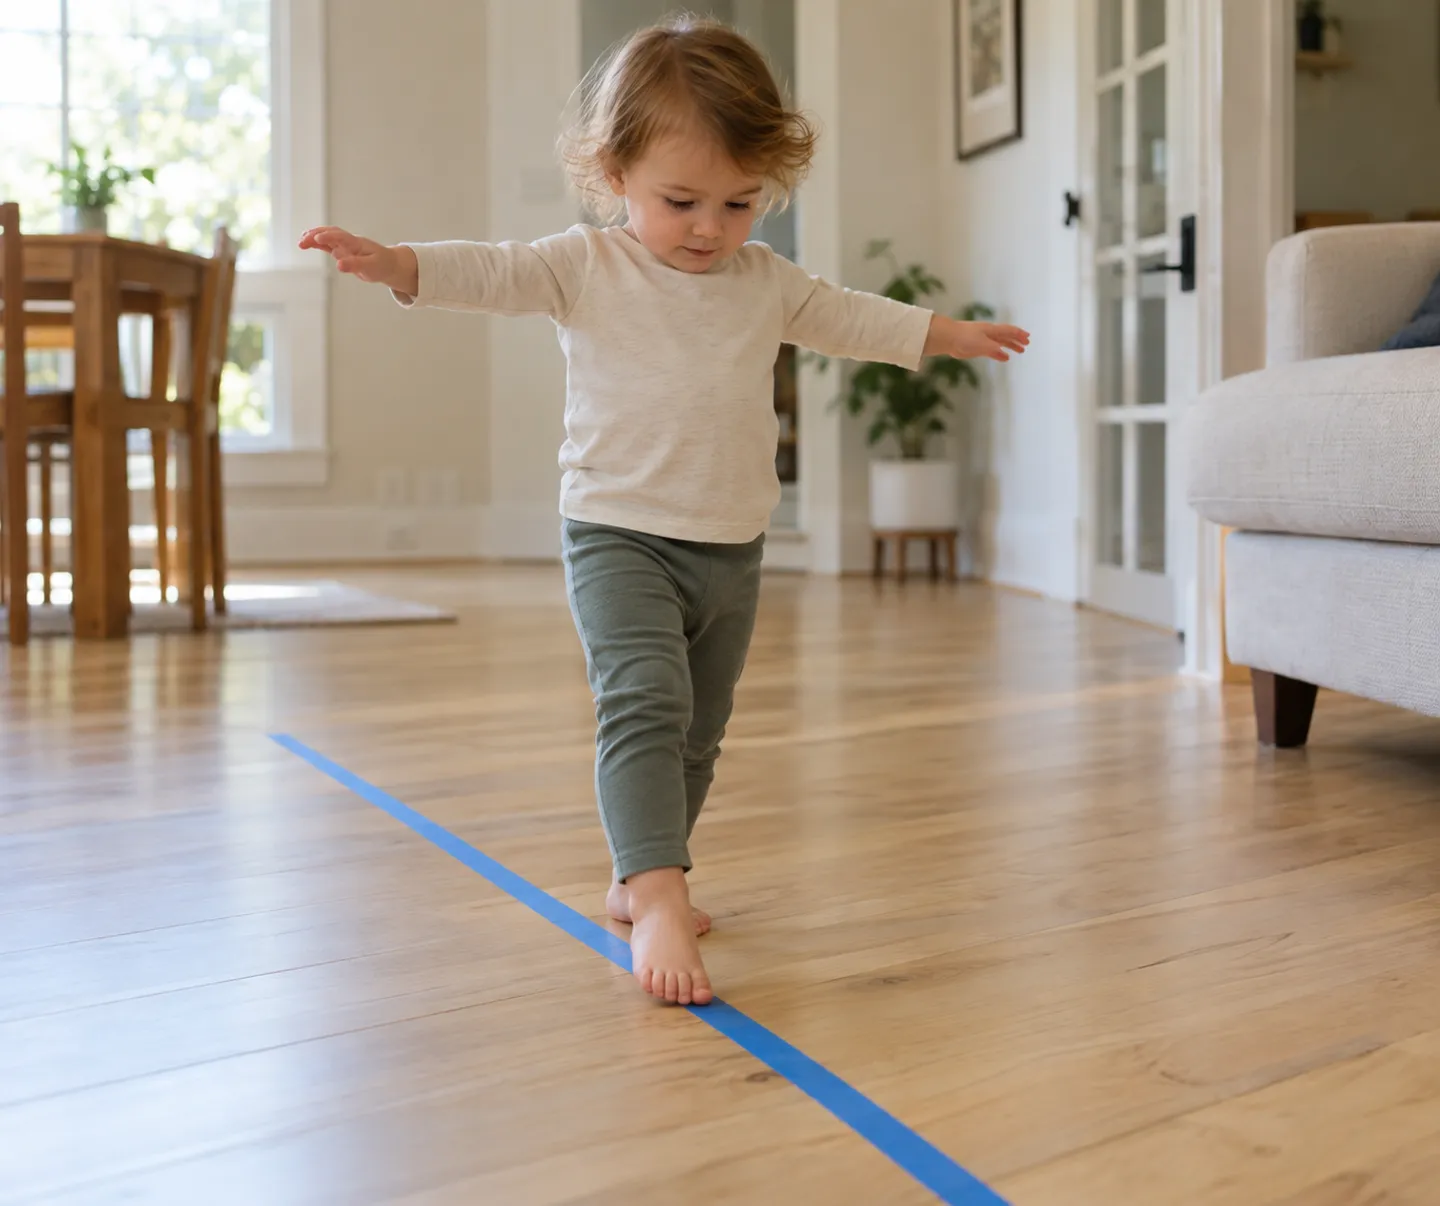
Now the judgment you came for. If your child is between roughly one and four and you want to build balance, you don’t need to build anything. A line of painter’s tape on the floor does the job. The floor itself is the safest beam in the house, and every skill a beginner practices on a raised beam starts as a skill practiced on the ground.
Building something earns its keep in exactly two situations. One: you want a stable, defined edge under small feet, indoors or in a classroom corner. A low wooden beam gives you that for the price of a couple of boards. Two: a young gymnast needs to rehearse at something closer to competition height, and only a raised beam, padded and supervised, serves that purpose.
Everything else is choosing how far off the floor your beam should sit. That single decision, height, determines what the setup costs, who it fits, and how it fails. So that’s the axis this guide follows.
The Three DIY Balance Beam Setups and What Each Really Costs
Search “diy balance beam” and you’ll find a pile of one-off projects. Look closer and they sort into three structures, each with its own price tag, age range, and way of going wrong.
Floor-Line Setups: Tape, Pool Noodles, and Scrap Boards
The bottom rung costs nothing and takes minutes. A strip of painter’s tape across the floor gives a toddler a visible path with a “wide beam” feel and zero fall risk. Parents also split a pool noodle lengthwise and tape the halves down, which adds a slight rounded edge to step over. A flat scrap board on the lawn or the living-room rug works the same way; one Montessori parenting site has run its toddler beam on plain planks laid out on the grass for years (Hands On As We Grow).
The failure mode here isn’t injury, it’s boredom. Floor lines slide on hard flooring if you skip the tape, and a child past four or five finds the challenge too easy. The fix costs a roll of tape; the upgrade is the next rung.
Low Wooden Beams: The 2×4 Classic
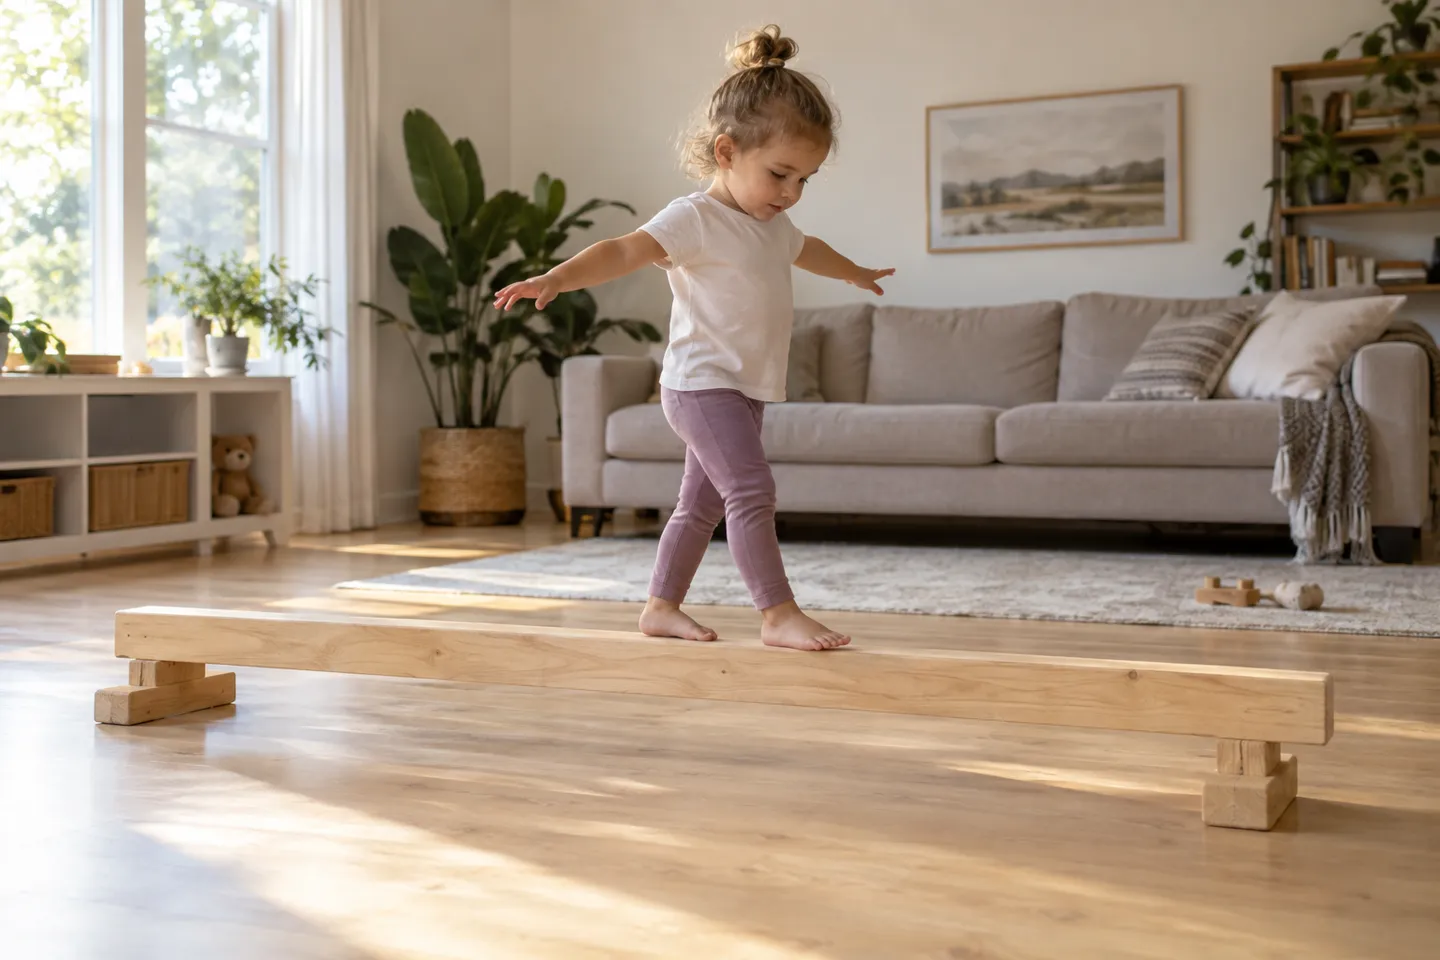
This is the build most people picture. A beam made from a 2×4 or 4×4 laid on edge or flat, sometimes on short legs, sits a few inches off the ground. A 47-inch 2×4 with small supports was enough for one family’s thirteen-month-old to practice on, built with nothing but boards and screws (The Kavanaugh Report).
Costs scatter across three honest configurations, and mixing them up is why “how much does it cost” answers online disagree:
- A bare 4x4x8 lumber board runs about ten dollars. One family built their beam entirely from a repurposed shade-pole post and 2×4 offcuts, which made it free and took under 20 minutes (Amy Lanham).
- Add soft foam padding, covered legs, and fabric, and a full padded build with three 18-inch legs came to roughly $31 in materials (The Keeper of the Cheerios).
- A version with a padded top layer and faux-suede cover totaled $37.86, coupons included, plus about three hours of build time with kids helping (Practical Mama).
So the real span is $0 to about $38 plus an afternoon, depending on how finished you want the surface. The failure modes are covered in the next section, because this is the rung where they start to matter: narrow bases tip, raw lumber splinters, and uncoated boards scuff indoor floors.
The cost ladder, from bare boards to finished beam
$10
Bare 4×4, boards and screws
$31
Foam-padded, three 18-inch legs
$37.86
Padded top, faux-suede cover
Padding and covers create the spread; the frame itself stays cheap.
Raised Practice Beams: Legs, Pads, and Real Stakes
Once the beam rises toward knee height, you’re building gymnastics equipment, not a toy. This is the rung for a rec-level gymnast rehearsing at home. It changes the rules: legs must be solid and braced, the landing zone needs mats, and every session needs supervision. When one gymnastics mom priced sturdy ready-made raised beams, they started around $180 to $200 (Practical Mama, 2016 prices). That number is the market’s honest estimate of what a safe raised beam has to contain.
For perspective on what “raised” leads to: a competition beam sits 125 cm above the floor. Nobody should be DIY-ing that.
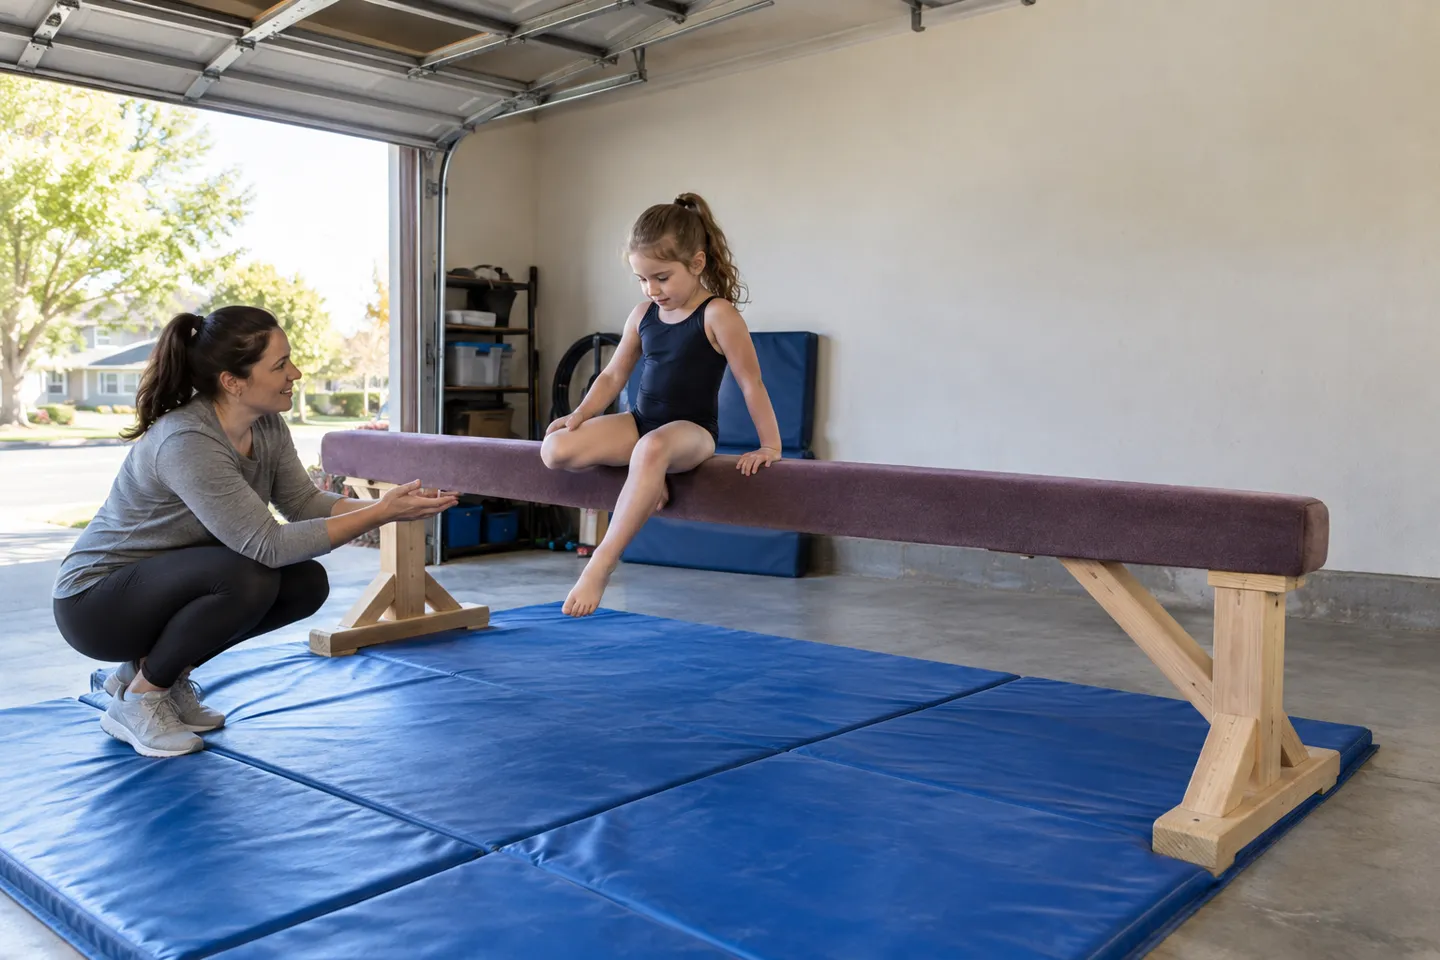
Put the three side by side:
Three DIY Balance Beam Setups at a Glance
| Setup | Distance off floor | Best for | Materials cost | Build time | Main failure mode |
|---|---|---|---|---|---|
| Floor line (tape / pool noodle / scrap board) | 0 cm | Ages 1–4, indoor balance play | $0 | Minutes | Slides on hard floors; too easy past age 4–5 |
| Low wooden beam (2×4 / 4×4, optional legs) | ~9–19 cm (flat 2×4 to single-leg height) | Ages 3–6, classroom corners, defined-edge practice | $0–38 | 20 min (scrap) to ~3 hrs (padded) | Narrow-base wobble; splinters; floor scuffs |
| Raised practice beam (legs + pads) | ~30–60 cm, mat underneath | Rec gymnasts rehearsing at home | $50+ in lumber and padding; ready-made $180–200 (2016) | A weekend project | Structural instability; falls requiring mats |
Here’s the number that reframes the whole build-or-buy question: a mass-market folding foam beam, competition-width on top with a wider non-slip base, lists for $45.99 on Amazon (Marfula via Amazon). A padded wooden DIY build runs $10–38 in materials plus about three hours, once you already own the tools. The gap between making and buying has narrowed to roughly one hour of your time.
Build vs. buy, at current prices
DIY padded wooden beam
$10–38
materials, plus about three hours
Ready-made folding foam beam
$45.99
competition width, non-slip base
Making vs. buying now differs by about an hour of your time.
Why DIY Balance Beams Fail: Structure, Grip and the 4-Inch Truth
A wobbly beam isn’t bad luck. Each failure traces back to a specific structural choice, and the three below account for most of them.
Wobble Comes From the Base, Not the Board
Sideways tipping is a base-width problem. The narrower the support footprint relative to the beam’s height, the less sideways force it takes to roll the whole thing over, which is why a padded beam on three tall skinny legs feels nervous under a running child while the same board flat on the floor feels dead solid.
Connection method is the second half of it. Legs attached with a single screw per joint rock at the joint no matter how tight the screw feels; through-bolted or pocket-hole joints with glue hold their geometry. Builders who got this right used at least three legs: one at each end, one in the middle (Amy Lanham). Commercial designs run the same math from the other direction. The folding foam beam above widens its base to six inches under a four-inch top, explicitly to add stability (Marfula via Amazon).
One more controllable variable: the floor it stands on. Hardwood is unforgiving to both the board’s finish and its grip; carpet grabs the base but can rock on thick padding. Check the surface before you build for it, not after.
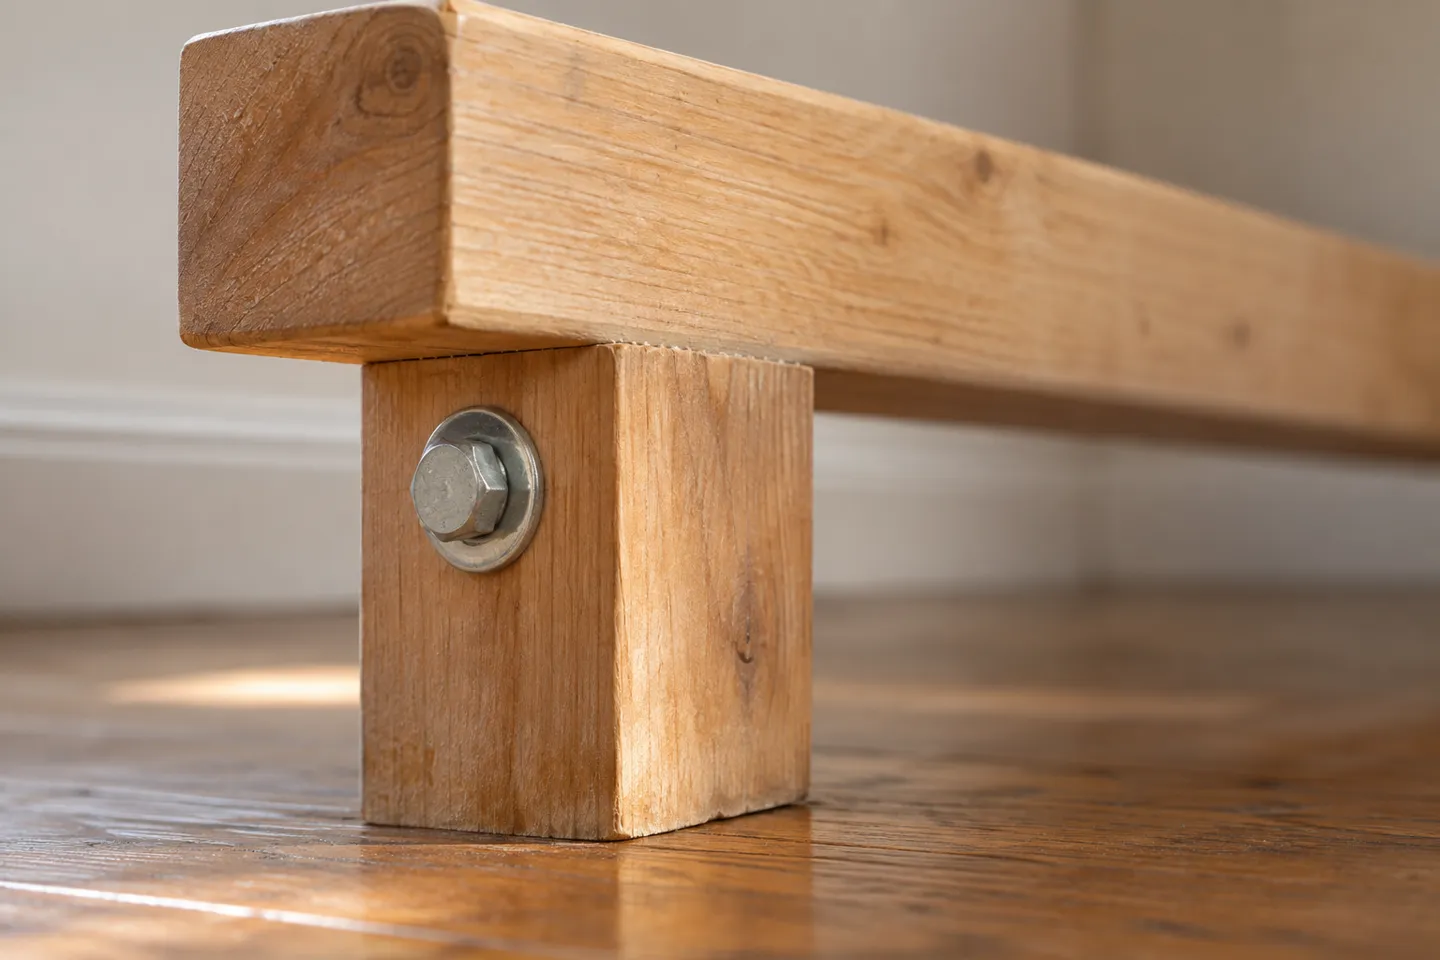
Surface Failures: Splinters, Shifting Wraps, and Chewed Edges
Raw construction lumber is rough-sawn and, in outdoor grades, chemically treated; neither belongs under bare toddler hands, and definitely not near a mouth. If children under three will use the beam, sand every face, round every edge, and skip pressure-treated wood entirely. Indoor kiln-dried lumber with a toy-safe finish, or a fully wrapped surface, is the baseline.
Wraps fail too. Stapled fabric migrates and staples back out of wood over hard use, so a classroom beam needs its covering checked the way you’d check a loose screw. And for adult barefoot training, which is a real use case in movement communities, the standard is higher again: every edge eased, every grain snag sanded, or the beam punishes the exact practice it was built for.
The 4-Inch Truth: Nominal Lumber vs Competition Specs
Here’s the fact most DIY guides round off. A competition balance beam is 10 cm (4 inches) wide, 5 meters (16.4 feet) long, and 125 cm (4.1 feet) high (Encyclopaedia Britannica; FIG apparatus specifications). A “2×4” is not two inches by four inches; it’s about 1.5 by 3.5 inches after milling, and a “4×4” post is about 3.5 by 3.5. Lay a 2×4 on edge and its top surface gives you three and a half inches, half an inch shy of the competition width.
Nominal vs. actual: the 4-inch truth
Competition beam
Width10 cm / 4 in
Length5 m / 16.4 ft
Height125 cm / 4.1 ft
Lumber reality
“2×4”1.5 × 3.5 in
“4×4”3.5 × 3.5 in
2×4 on edge3.5-in top
A 2×4 top is half an inch shy of competition width; a 4×4 matches it almost exactly.
That half inch is exactly the gap between “feels like practice” and “is one.” For a preschooler it’s irrelevant. For a gymnast drilling at home, it’s the difference between training the foot placement the routine will demand and training a slightly easier version of it. A DIY beam can match the competition’s width almost exactly with a 4×4; matching its height safely is where budgets and engineering both start to strain.
Which leads to the warning the builders themselves attach:
As one blogging parent put it after building her daughter’s beam: this is not a professional-grade balance beam. Keep it low, pad the landing zone, and supervise every session. (Practical Mama)
When a DIY Balance Beam Is the Wrong Tool
The setups above fail gracefully. These four situations don’t, and each has a clean self-check.
Level 1: The skills escalate. Walking becomes jumping, turns, and dismounts. A jump multiplies landing force well beyond static body weight, and DIY joints have no tested rating for that. Check: does your child’s practice list include anything airborne? Then stop building and look at engineered equipment.
Level 2: The user’s weight escalates. A 2×4 span that’s solid under a 40-pound child flexes differently under an adult. Barefoot adult balance training is a legitimate use, but it demands verified load capacity and flawlessly finished surfaces. Check: will anyone over ~100 pounds use it? Don’t guess the span rating.
Level 3: The traffic escalates. A daycare or classroom beam takes dozens of users a day, weekly cleaning, and years of abuse. DIY construction has no fatigue rating. Check: is this serving one child or many? Many means commercially built, replaceable parts.
Level 4: The setting is regulated. The moment a beam lives in a licensed childcare facility, it’s playground equipment in the eyes of regulators. The CPSC’s Public Playground Safety Handbook defines a balance beam’s fall height as the distance from the top of the walking surface to the protective surfacing beneath it (CPSC Public Playground Safety Handbook). Surfacing depth requirements tie directly to that number. A homemade beam has no documentation to show an inspector. Check: does a licensing rule touch your facility? Ask before you build, not after.
Four tripwires: when to stop building
When any check trips, the buying question changes from “which one” to “what do I require”: a stated load rating, a non-slip base, and children’s product certification for your market.
Build or Buy: Matching the Option to Your Child
Three honest routes remain: the floor line, the DIY wooden beam, the finished beam. Here’s the shortest path to a decision.
Build or Buy: A Route by Age and Use
| Your situation | Recommended route | Why | Signal to move up |
|---|---|---|---|
| Toddler 1–3, indoor play | Floor line | Zero cost, zero fall risk, enough challenge for balance learning | Child crosses the line without looking down |
| Child 3–6, wants a “real” beam | DIY low beam or entry finished beam | Defined edge builds confidence; cost is a wash either way | Skills outgrow walking: jumps, turns |
| Rec gymnast practicing at home | Finished raised beam + mats | Height safety is engineered, not improvised | Coach confirms beam skills in practice plans |
| Classroom, daycare, clinic | Finished commercial equipment | Durability, cleaning, and compliance documentation | Any of Levels 3–4 above |
The finished option deserves an objective look, because it has quietly absorbed the lessons of every failed DIY above. Mass-market beams now ship with the fixes built in: bases wider than their tops, textured non-slip undersides, sealed and rounded surfaces, and folding frames that store in a closet. The modular plastic balance paths in the gross-motor category take the same approach further. Beams plus stepping stones reconfigure into courses, with stackable pieces and textured tops designed for bare feet.
That’s why the price comparison ends the argument for most families. A folding foam beam lists at $45.99 (Marfula via Amazon); a padded wooden DIY build costs $10–38 in materials plus about three hours. Unless the building itself is the point, buying wins on everything except the afternoon in the garage. And if you do buy, carry the last section’s three checks with you and add the paperwork for your market: CE in Europe, CPC in the US.
Comparing finished options against that checklist instead of building? Startinal sends spec sheets — load ratings, non-slip bases, and certification paperwork for your market.
Request the Spec SheetsWhat the DIY Balance Beam Trend Tells Toy Sellers
For the sellers and importers reading this far: the DIY shelf of this category is a demand gauge, not a threat. Parents have published balance beam builds continuously from 2014 through 2025, across parenting blogs, woodworking forums, and video clips. That persistence says the underlying demand, at-home balance training for young children, is stable. It also says a segment of buyers ends every search at the same question this article answered: build or buy.
Read the DIY pain points as a specification sheet. Wobbling bases, splintered surfaces, and gear that clutters a room are the three complaints every build fights. A finished product that answers them in the listing, wide non-slip base, finished edges, stackable storage, is answering objections the market has already written down. Original, patent-backed designs matter here too, because a commodity beam competes on price against $45.99 folding foam, while a patented modular course competes on what the folding beam can’t do.
The build-versus-buy framework itself is usable content: listings and landing pages that walk a parent through “when to DIY and when to buy” meet the searcher one step earlier than a product page does. The price gap is already narrow enough that no one has to win it on price.
If you’re sourcing in this category and want to compare finished options against that checklist, STARTINAL’s balance walking series collects beams, stones and boards in one catalog, with 60+ patents across the US, EU and China behind the designs.
Bring a Tested Balance Beam to Your Shelves
Beams, stepping stones and boards from STARTINAL’s balance-walking line, with 60+ patents across the US, EU and China behind the designs.
Start a Sourcing InquiryReferences
- Encyclopaedia Britannica. “Balance Beam.” britannica.com
- Fédération Internationale de Gymnastique. “Women’s Artistic Gymnastics Apparatus.” gymnastics.sport
- U.S. Consumer Product Safety Commission. “Public Playground Safety Handbook.” 2025. cpsc.gov
- Practical Mama. “DIY—How to Build a Gymnastics Balance Beam.” 2016. practicalmama.com
- The Keeper of the Cheerios. “DIY Balance Beam.” 2014. thekeeperofthecheerios.com
- Lanham, Amy. “DIY Balance Beam.” 2020. amylanham.com
- Hands On As We Grow. “Balance Beam for Toddlers: Super-Easy DIY at Home.” 2023. handsonaswegrow.com
- The Kavanaugh Report. “DIY Wooden Balance Beam for Toddlers.” 2015. thekavanaughreport.com